Background Removal in PicsArt: One Click Guide
Background removal is one of the most useful tools in modern photo editing. It helps photos look cleaner and gives full control over the final composition. PICSARTPROAPK.COM shares this one click guide to remove backgrounds using PicsArt.
What Is Background Removal
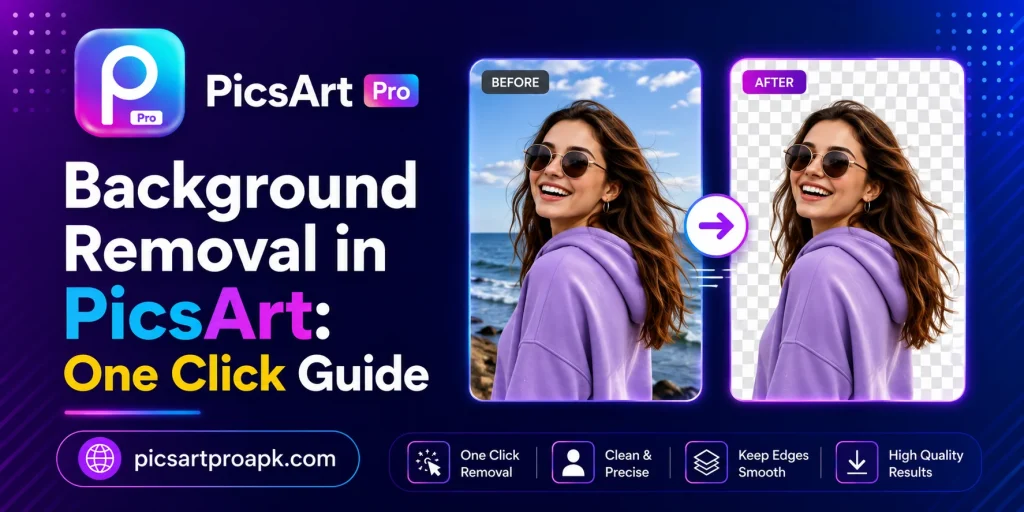
Background removal separates the main subject of a photo from everything behind it. Once removed, the subject can be placed on a new background or kept transparent. PicsArt uses AI detection to make this process fast and mostly automatic.
Why Background Removal Is Useful
This feature serves many purposes beyond simple photo editing. Below are common reasons people use background removal regularly.
- Creating clean product photos for online stores
- Designing professional profile pictures
- Making stickers and cutouts for creative projects
- Placing subjects on new themed backgrounds
- Removing distractions from a busy photo
Requirements Before You Start
A few basics help the background removal process work smoothly.
| Requirement | Details |
|---|---|
| App Version | Latest PicsArt update |
| Photo Quality | Clear subject with visible edges |
| Device | Android phone with 4GB RAM or higher |
| Internet | Stable connection for AI processing |
| Lighting | Even lighting around the subject |
Step by Step Guide to Remove Background in PicsArt
Follow these steps for a clean and accurate background removal.
Step 1: Open the Photo
Launch the app and select the photo you want to edit. Open it inside the main editing screen. Choose a photo where the subject stands out clearly from the background.
Step 2: Select the Background Remover Tool
Tap on the Tools option and search for Background Remover or Cutout. This feature uses AI to detect edges automatically. Select it to begin the removal process.
Step 3: Let AI Detect the Subject
The app will automatically highlight the subject and remove the background in seconds. Review the result carefully for any missed areas. Zoom in to check fine details like hair or fingers.
Step 4: Manually Adjust Edges
Use the brush tools to add back or erase extra parts around the subject. This step fixes any small errors the AI may have missed. Careful adjustment gives a more polished final result.
Step 5: Add a New Background
Once the subject is fully cut out, choose to keep it transparent or add a new background. PicsArt offers solid colors, photos, and creative designs for this step. Match the new background with the subject’s lighting for a natural look.
Step 6: Save and Export
Export the final photo with a transparent background if needed for further use. Save it to your gallery or share it directly online. PICSARTPROAPK.COM users get high resolution exports without extra restrictions.
Tips for Better Background Removal
These tips help improve accuracy and final photo quality.
- Use photos with clear contrast between subject and background
- Zoom in while checking edges around hair or small details
- Avoid busy or cluttered original backgrounds
- Match new background lighting with the subject
- Save a backup of the original photo before editing
Common Mistakes to Avoid
Avoid these errors for a smoother editing experience.
- Skipping the manual edge check after AI removal
- Choosing photos with unclear or blurry subjects
- Ignoring lighting mismatch with the new background
- Forgetting to export with a transparent background when needed
- Rushing through fine detail areas like hair strands
Best Situations to Use This Feature
Background removal serves many practical and creative needs.
For Online Selling
Sellers use clean product photos with removed backgrounds for marketplaces and stores. This creates a professional look that attracts more buyers. Consistent backgrounds across listings also build trust with customers.
For Profile Pictures
Users remove distracting backgrounds to create clean profile pictures for social media. This keeps the focus on the person rather than surroundings. Simple background swaps can also match brand or personal themes.
For Creative Design Projects
Designers use cutout subjects to build posters, collages, and social media graphics. This flexibility allows for more creative freedom in layout and composition. Combining cutouts with new backgrounds opens many design possibilities.
Tools Involved in Background Removal
PicsArt offers several supporting tools that work together for complete background removal. Understanding each tool helps achieve more accurate and polished results. The table below outlines these options.
| Tool Name | Purpose | Skill Level |
|---|---|---|
| AI Cutout | Automatic subject detection | Beginner |
| Manual Eraser | Removing extra background areas | Beginner |
| Restore Brush | Adding back accidentally removed parts | Intermediate |
| Edge Refine | Smoothing rough cutout edges | Intermediate |
AI Cutout
The AI Cutout tool scans the photo and automatically separates the subject from its surroundings. This works quickly for most standard photos with clear subjects. It forms the first and most important step in the removal process.
Edge Refine
The Edge Refine tool smooths jagged or rough edges left after the initial cutout. This is especially useful around hair, fur, or fine textured objects. Using this tool improves the overall professional appearance of the final image.
Combining Background Removal With Other Features
Background removal often works best when paired with other PicsArt tools for a complete edit.
Adding AI Generated Backgrounds
Once a subject is cut out, the AI Image Generator can create a custom background based on a text prompt. This combination allows for entirely unique compositions. PICSARTPROAPK.COM highlights this pairing as a powerful creative option.
Using Templates After Removal
Cut out subjects can be placed directly into pre made templates for social media or marketing. This speeds up the design process significantly compared to starting from scratch. Templates also ensure consistent sizing across multiple projects.
Who Benefits Most From This Feature
Background removal serves a wide variety of users and industries.
- Online sellers creating clean product listing photos
- Graphic designers building composite images for projects
- Social media users creating unique profile pictures
- Content creators designing thumbnails and promotional graphics
- Photographers offering quick background swap services to clients
Advanced Tips for Complex Photos
Some photos require extra care due to complex subjects or backgrounds.
- Increase zoom significantly for hair or fur heavy subjects
- Use the restore brush to fix over aggressive automatic removal
- Work in good lighting conditions when capturing original photos
- Save intermediate versions when working on complex edits
- Test the cutout against multiple background colors before finalizing
Frequently Asked Questions
Does background removal work on all photo types? It works best on photos with clear subjects and good lighting. PICSARTPROAPK.COM recommends testing different photos to see which give the cleanest results.
Can I remove background without internet access? Some basic tools may work offline, but AI detection usually requires an internet connection for best accuracy.
Is background removal free in PicsArt? The basic tool is available for free users with some limits. Premium plans may offer faster processing and higher export quality.
Will hair and fine details be removed accurately? AI detection handles most details well, though manual touch ups may be needed for very fine hair strands.
Final Thoughts
Background removal in PicsArt makes photo editing faster and more professional looking. This tool helps with online selling, profile pictures, and creative design projects alike. Visit PICSARTPROAPK.COM to download the app and try background removal on your own photos today.